
Loading your progress…
Your first venipuncture, step by step.
The whole routine draw, start to finish, in the order CLSI teaches it. A simulated walk-through you can rehearse before you hold a tube.
Why the sequence matters
The routine venipuncture is the spine of the job and the spine of the exam. The ASCP BOC tests it two ways: "what is the next step" and "what went wrong." Both reward the same thing, knowing the order cold. This lesson walks the full procedure the way CLSI GP41 lays it out, so you can rehearse it before you ever hold a tube.
The procedure, in order
- 1. Review the requisition. Confirm the tests, any fasting or timing requirements, and special handling before you walk in.
- 2. Identify the patient. Two identifiers, full name and date of birth, stated by the patient and matched to both the wristband and the requisition. A three-way match.
- 3. Prepare. Perform hand hygiene, ask about latex allergy and prior fainting, and position the arm downward and well supported.
- 4. Assemble equipment. Tubes in order of draw, the right needle and holder or a butterfly, gauze, bandage, and a sharps container within reach.
- 5. Apply the tourniquet. Three to four inches above the site, for no more than one minute. Ask the patient to make a fist; do not have them pump it.
- 6. Select the vein. Palpate for the median cubital first. If selection nears a minute, release the tourniquet and reapply before the stick.
- 7. Clean the site. 70% isopropyl alcohol with friction, then let it air-dry fully. Do not re-touch the cleaned site.
- 8. Insert. Anchor the vein below the site and enter bevel-up at about 15 to 30 degrees.
- 9. Fill in the order of draw. Seat each tube; invert additive tubes gently the required number of times right after filling.
- 10. Release the tourniquet before you withdraw. Release within one minute of applying it, and remove the last tube before the needle.
- 11. Remove and secure. Withdraw the needle, immediately activate the safety device, and apply firm pressure with gauze.
- 12. Finish at the bedside. Bandage, then label the tubes in the patient's presence, dispose the needle in the sharps container, and thank the patient.
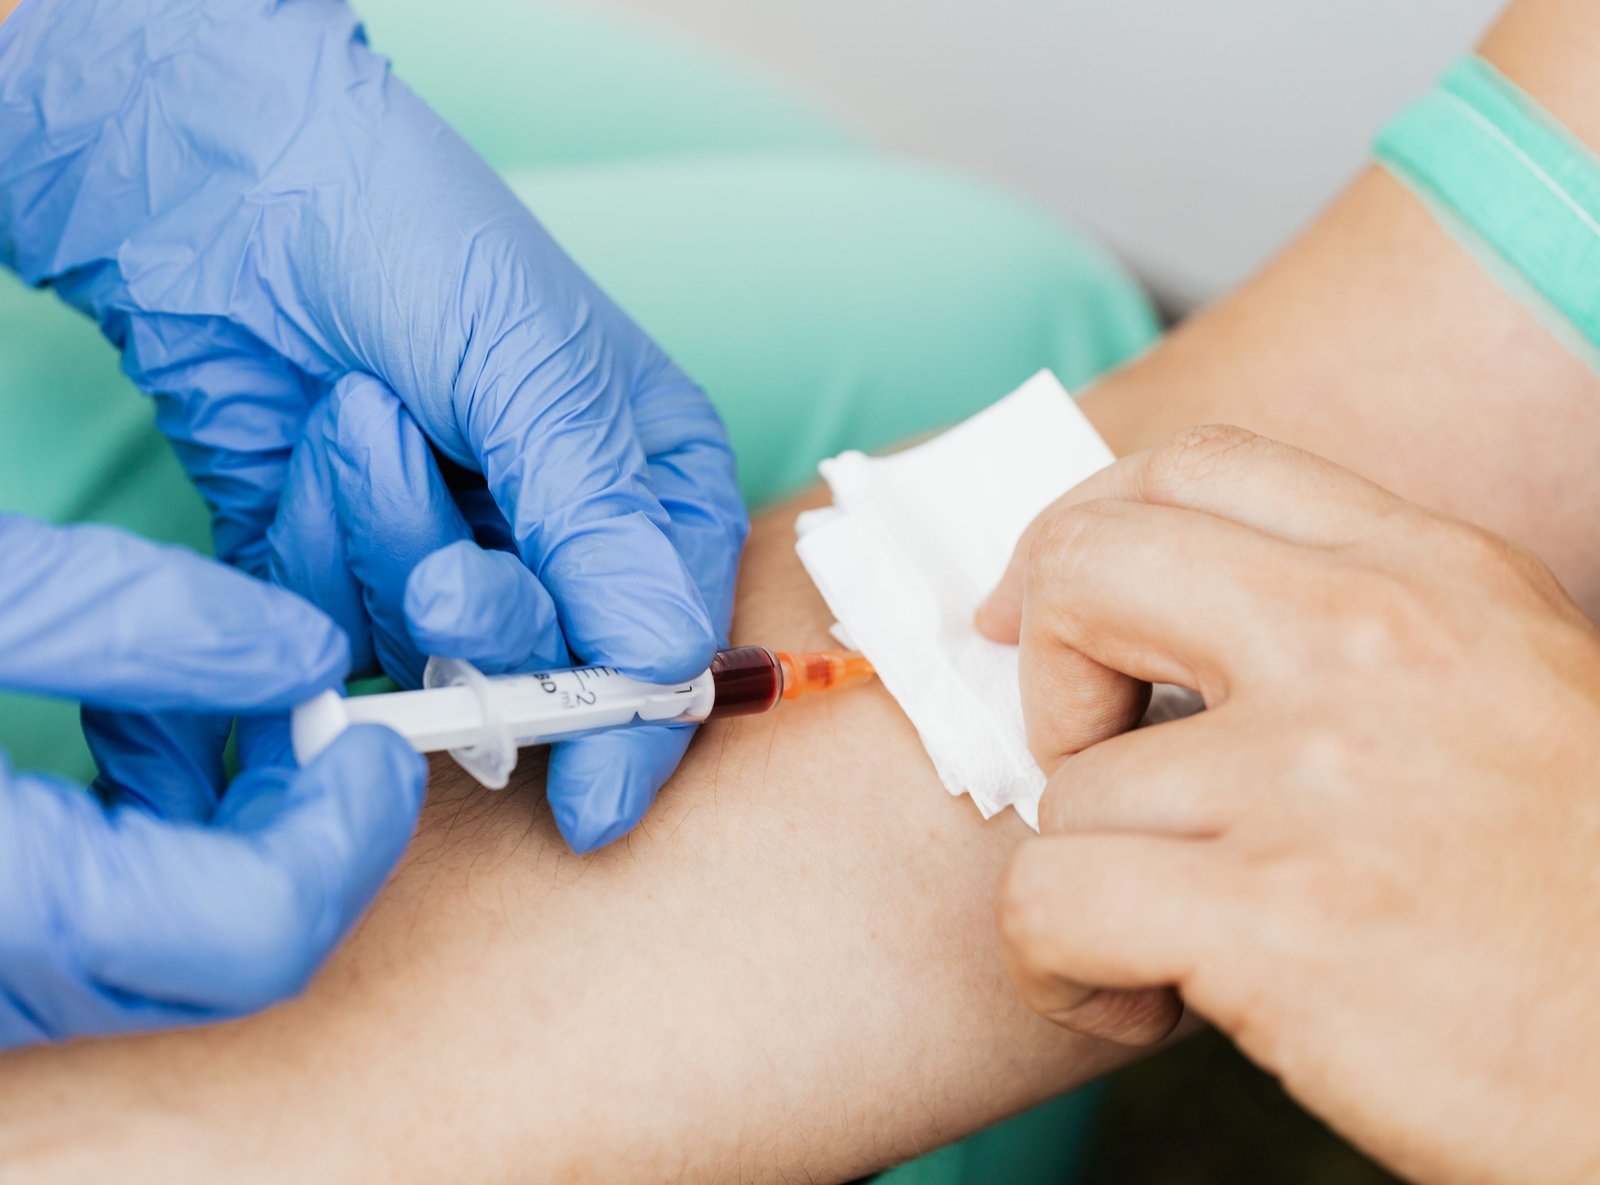
Three steps carry most procedure questions: the tourniquet stays on no longer than one minute, you label the tubes at the bedside and never at the desk, and you release the tourniquet before you withdraw the needle. A "what went wrong" stem almost always breaks one of these three.
What this lesson is
This is the simulated walk-through, the map of the whole draw. The lessons on order of draw, site selection, and patient identification each take one step and teach it deeply. Learn the sequence here first; the details slot into it.
Standards reference: CLSI GP41-Ed7, Collection of Diagnostic Venous Blood Specimens. Cross-referenced against the ASCP BOC PBT content guideline, Specimen Collection domain. PhlebotomySkills.com is exam-preparation content. Not a degree, not for-credit coursework, and not affiliated with any certifying body.
Finished reading?
Next: Order of draw
Ready to test yourself?
Practice bank · Simulator · Flashcards
Practice with explanations, then return to the topic you need.